|
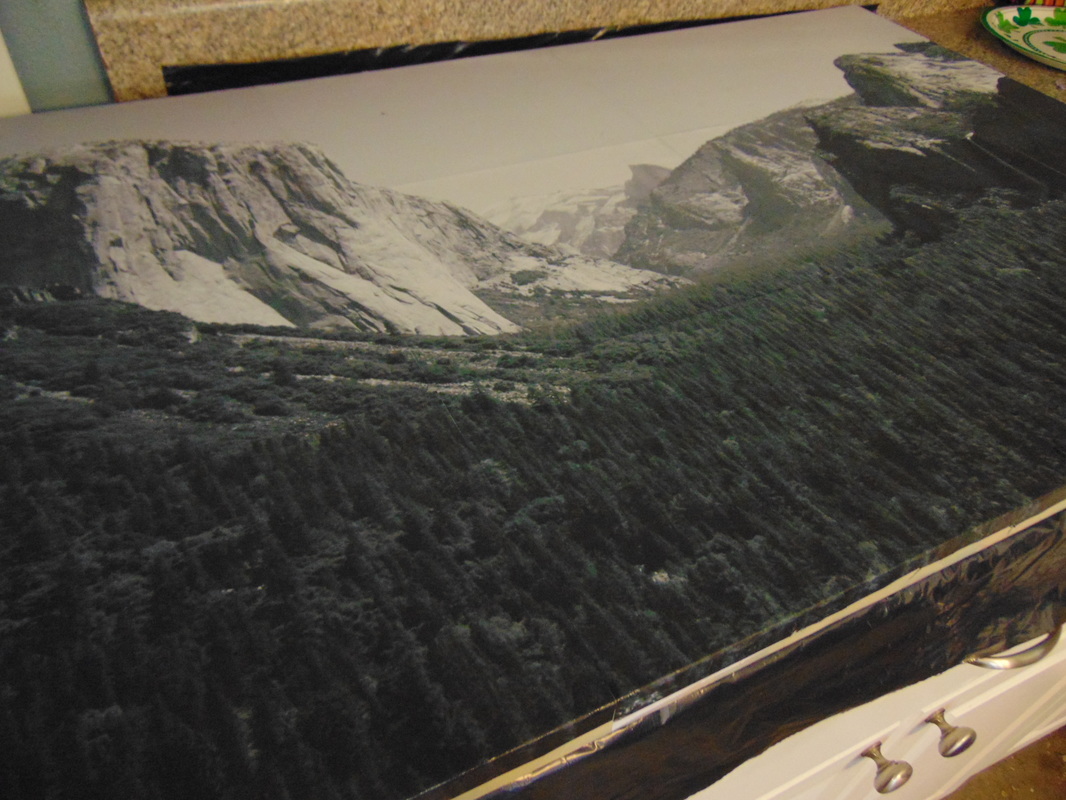
Well it's time to start decorating my NEW office! I actually wasn't expecting to get an office since I am only interiming supervising, but I am more than happy to take it! It was really sad watching my old supervisor back up the office and by the time I moved in it looked empty, boring, and depressing. I knew I was heading into a role that was going to be stressful not only because of the new requirements of me, but also because I was stepping up to a supervisor role from a team that I was an equal in. I knew the transition was going to be hard and I wanted to be able to look at something that would calm me. The one place in the world that I try to think about when I am feeling stressed is inspiration point in Yosemite. I’ve lost count how many times I have been there and it still takes my breath away. I love looking at the view and just feeling so small and whatever is causing me stress flies away. The first thing I decided to decorate my new office with was a giant picture of inspiration point, but the problem was I was on a very tight budget since we are still in the middle of our debt snowball and there are limited places that you can get large pictures cheap in town. I knew I had to make my own and I knew I wanted it fast. After looking online and a couple of stores locally I couldn’t find what I wanted to make my own canvas art so I found a large picture online that I could use. Now I don’t have the software that allows you to break a picture down to print on single sheets a paper so I resorted to something I have down in the past: Excel! I inserted the picture into an Excel spreadsheet and enlarged it to the size I needed for the canvas and printed it out. Nine pages later I was ready to start the process. The first thing I did was cut out the unprinted area on each page except the ones that was going to be on the boarder of the canvas, making sure to have it perfectly straight for easier aligning later. Since I was using a damage picture I bought for only a few dollars at the craft store, I sprayed the canvas white so none of the color would seep through. Once the canvas was try I was ready to start. I started with the top corner of the picture and brushed on some Modpodge a little bigger than the piece of paper and placed the paper in place. I then went to the next paper, brushing on more modpodge and perfectly aligning the picture next to the previous one. I repeated this process until all of the pictures formed one large one. After I cut off the access outer boarder, I put several coats of modpodge on the picture to seal it in place and project it. Once it was dry I was so excited how it turned out and no one could believe that I made it!
Comments are closed.
|
From Me...These are posts from the original Oak Tree Junction blog before I took a break in 2020. These posts were created to share my creations with the hopes that it will inspire others to show their creative side. I plan to continue to share new creations on the current blog. Categories
All
|

