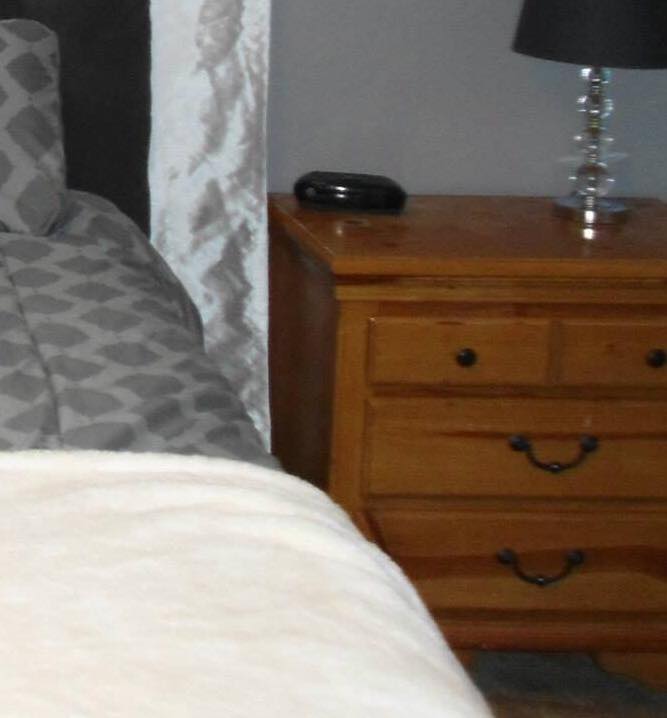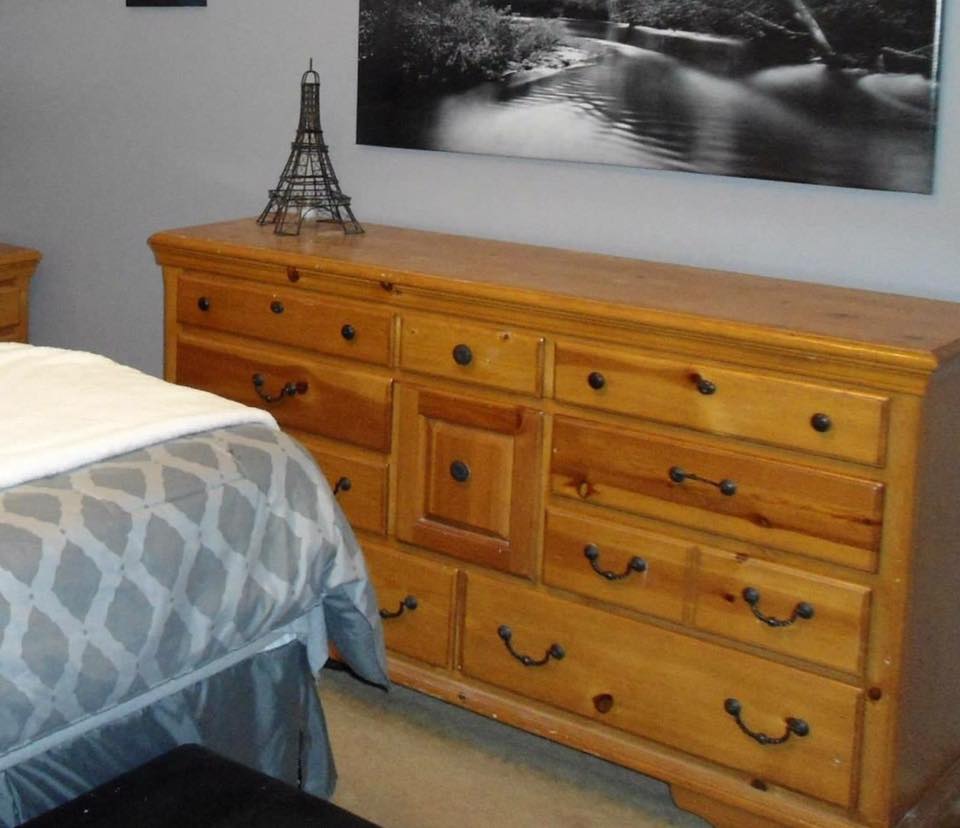
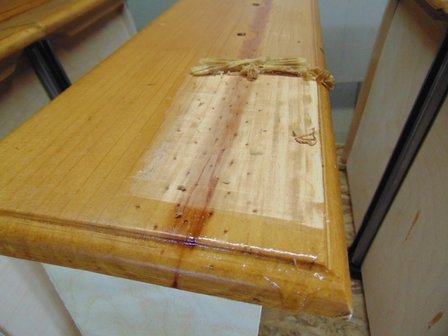
When we first bought our house we were given an old large oak dresser set and for years I have dealt with the ugly out of date stain and broken drawers. I had been wanting to strip the stain and re-stain them white, as well as replace the knobs and repair the broken drawers for awhile. Well when we moved everything out of the bedrooms for the new carpet I thought this would be the perfect time to do just that! What was I thinking!? It was already hard enough to move out and move back into the bedrooms. Thankfully Jack was sweet and went along with my insane idea and two months later we are finally finished and they came out fabulous! There was four pieces – a tall dresser, a long dresser and two side dressers, so we thought this would be easy. Boy, were we wrong! We tried three different ways to strip off the old ugly stain from the set. We first tried the chemical remover and scrapped it off. It worked, sort of. We tried different thickness levels and letting it sit for different amount of times. Some sections it would work great and others it didn’t even touch the stain.
The second thing we tried was a sandblaster that my step-dad owns. A sandblaster can strip off paint from any surface very quickly. He did the two side tables since those were the two we started off with on the chemical remover and it worked great, maybe a little too great. The dressers came back rough to the touch and covered in the blasting sand. We had to sand them with 60 grit sandpaper and then a finer grit to smooth them out and use the air compressor to remove the sand. With that working so well we decided to not do the blaster for the two bigger pieces, we just used 60 grit sandpaper and slowly striped away the stain. This actually was the easiest process and next time we have a similar project will start with this way.
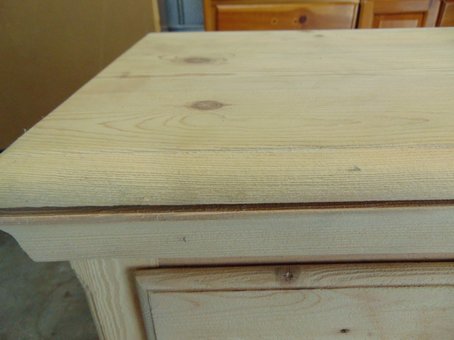
With that working so well we decided to not do the blaster for the two bigger pieces, we just used 60 grit sandpaper and slowly striped away the stain. This actually was the easiest process and next time we have a similar project will start with this way.
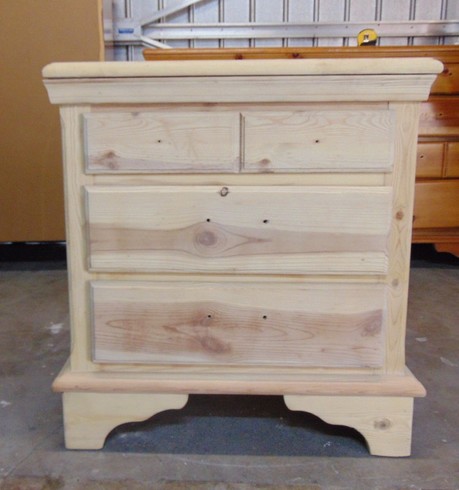
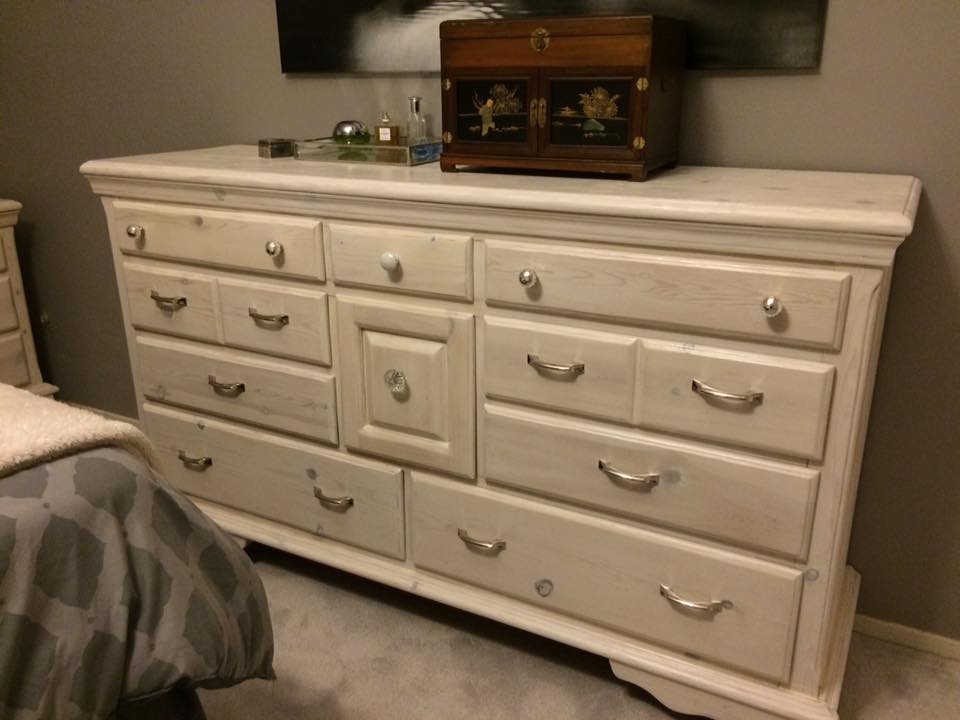
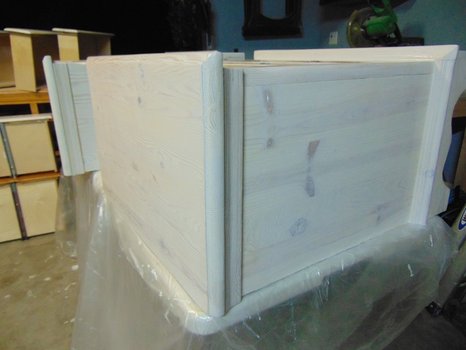
We knew we were going to replace all of the handles so we filled in the old holes with wood putty that was stainable. Once the putty dried we started the staining process. We ended up finding Minwax Tintable Clear Interior Stain in the color Marshmallow. We used two ½ gallons, the store didn’t carry it in gallon sizes, and did two coats since we wanted a brighter white finish.
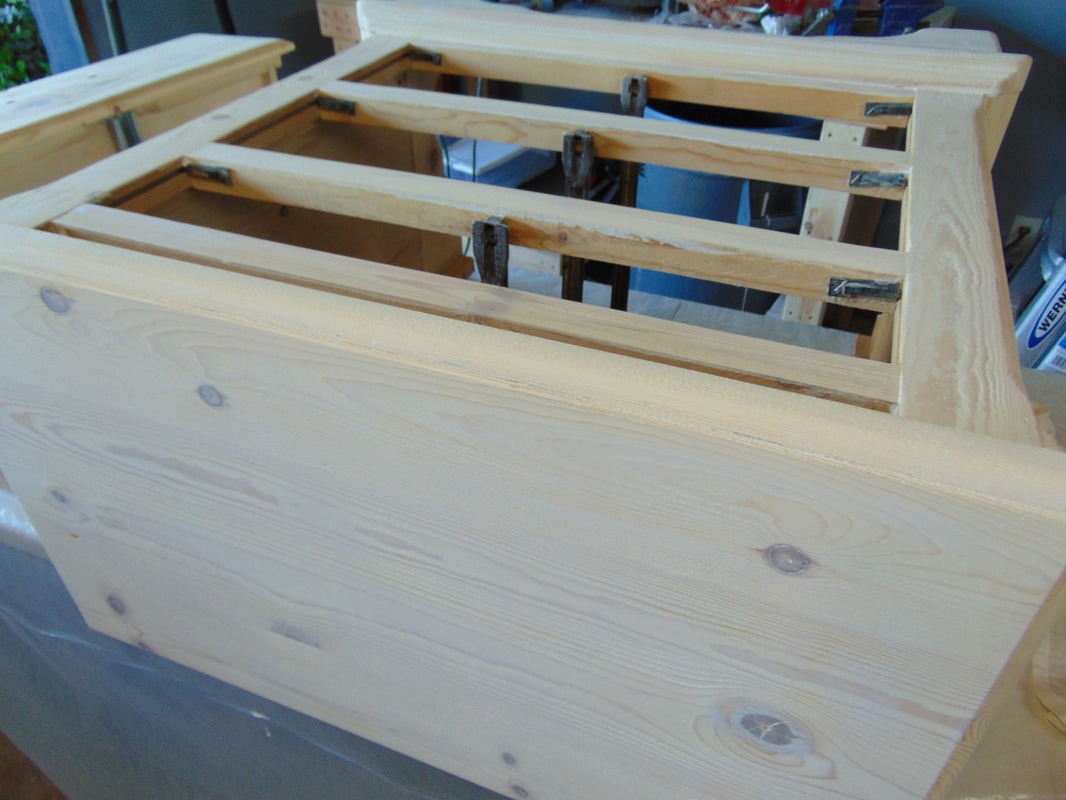 | 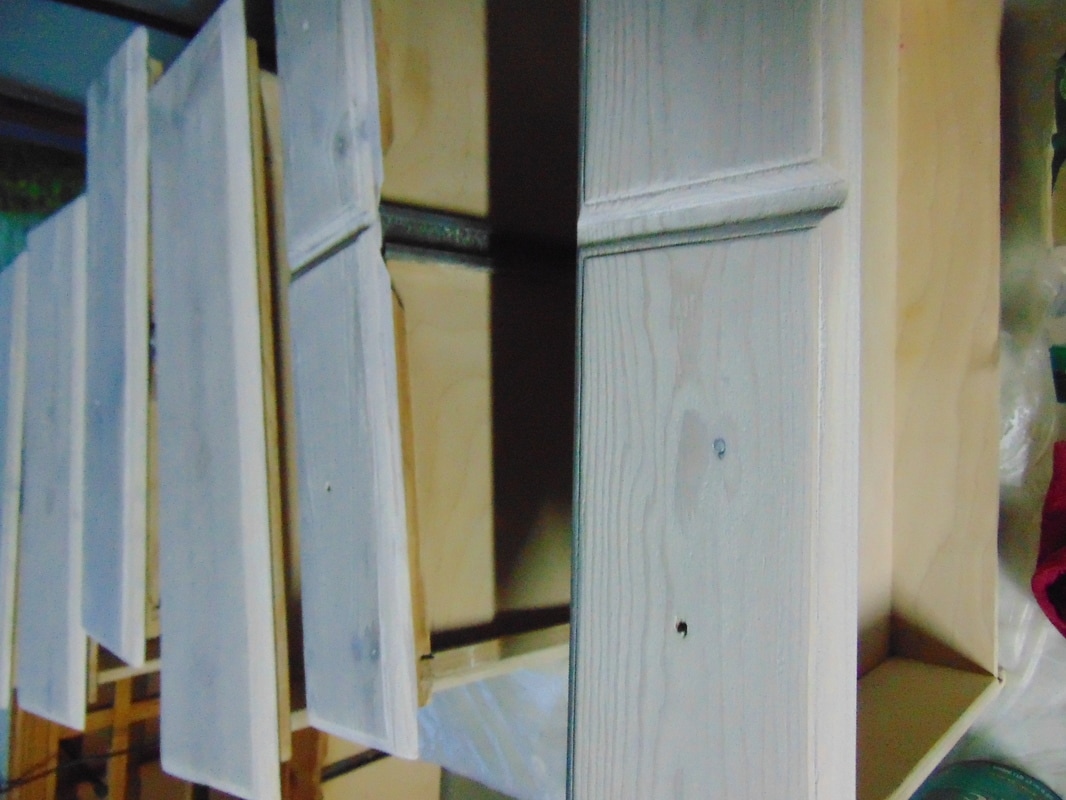 |
We finished it with a coat of water-based polyurethane in a satin finish.
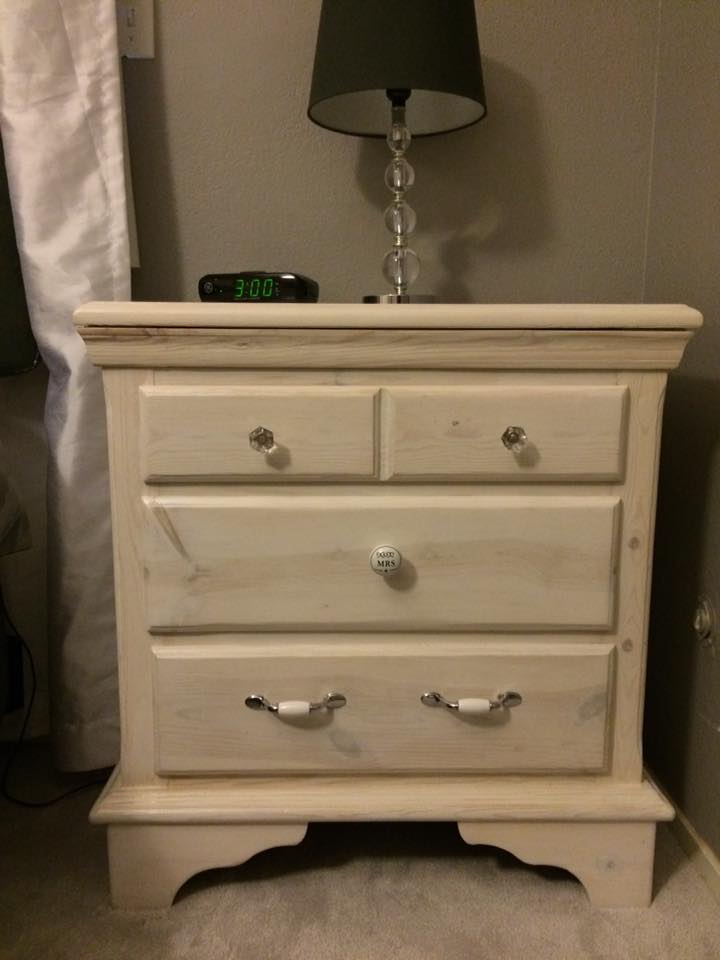
Lastly once everything was dried we drilled the holes for the new handles and repaired the broken drawers. Due to the thickness of the wooden drawer we had to purchase new screws for the new handles, this is actually pretty common when redoing older pieces. I thought it would give the dressers a nice French County feel if we used different types of handles. I used fun Mr. and Mrs. ceramic ones for our side dressers along with crystal and chrome ones. I used different chrome handles and mercury glass, ceramic, and crystal knobs for the two larger dressers. Even though it too much longer than we expected, I am so excited how they turned out and happily it was under $100 which is much cheaper than buying another set that wouldn’t have been built as well.